please look up the previous article Customize the points on your map Start by customizing the Sightings layer, changing the default red ...
Customize the points on your map
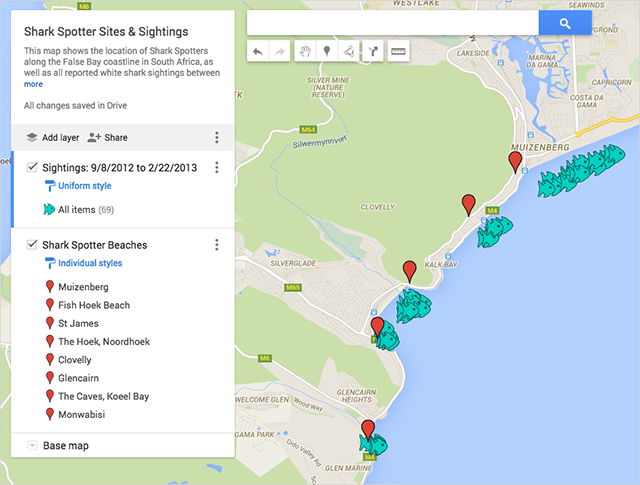
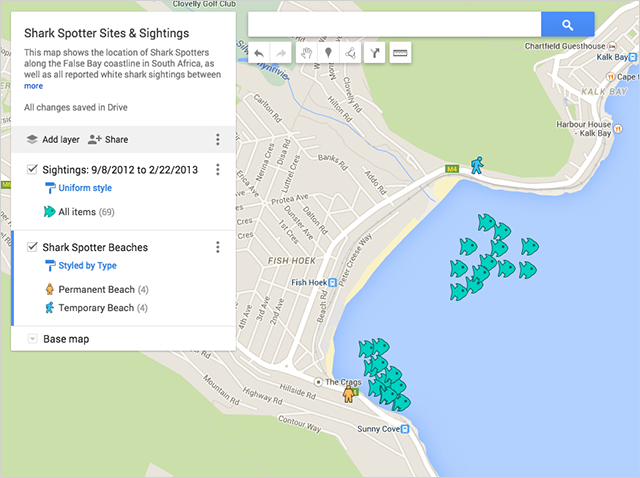
Start by customizing the Sightings layer, changing the default red pin to a green fish icon.
Start by customizing the Sightings layer, changing the default red pin to a green fish icon.
- Go to the Sightings map layer in the menu.
- Hover your cursor over the text All items (69). You should see a paint can icon appear on the right. Select the paint can.
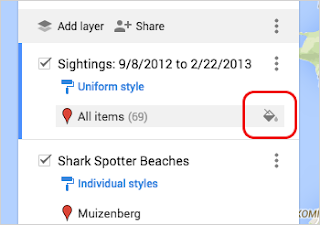
- Selecting the paint can will pull up a menu of icon choices, including colors and shapes.

- Select More icons to see several icon shapes you can choose.

- Under More icons, select the green icon
 . Now your red pins should be green fish on the map.
Next, customize the points in the Shark Spotter Beaches data layer. Here you’ll bucket the points into two categories, Permanent Shark Spotter beaches and Temporary Shark Spotter Beaches — information that is already associated with each location in the CSV — and use two different map icons.
- Click the Shark Spotter Beaches layer in the menu and select Individual styles.
- Use the Group places by drop-down menu to select Style by data column: Type, then choose Categories.

- Hover your cursor over the text Permanent, and select the gray paint can icon that pops up.
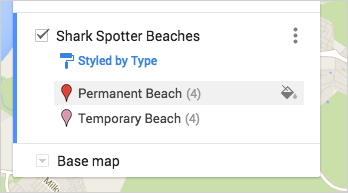 Under More icons, select the orange icon
 . You should now see those icons on your map.
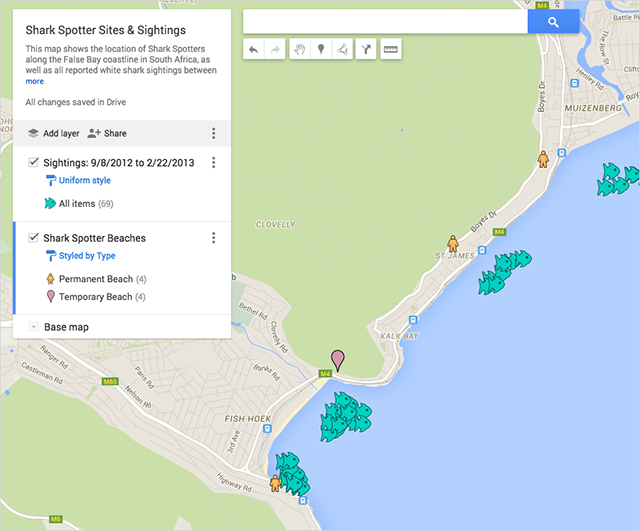
- Hover your cursor over the text Temporary, and select the gray paint can icon that pops up. Under More icons, select the blue icon
 . You should now see those icons on your map:
Tip: You can create and add your own icons to the map.
Summary


COMMENTS